❝45% Off❞
Sign up now and get exclusive offers, discounts, and updates on our latest services.
You have an embroidery machine and a few designs ready to stitch. Now you want to add a customer’s name, adjust a logo, or create something of your own. That is usually when embroidery software starts to matter.
Hatch Embroidery is one option you will come across, but choosing it raises a practical question: do you need tools for personalizing existing designs, or do you want to digitize artwork yourself? The answer affects which software level makes sense and how much learning you will need to do.
This guide explains what Hatch Embroidery software does, how its levels differ, which files matter, and how to approach your first projects without relying on a screen preview alone.
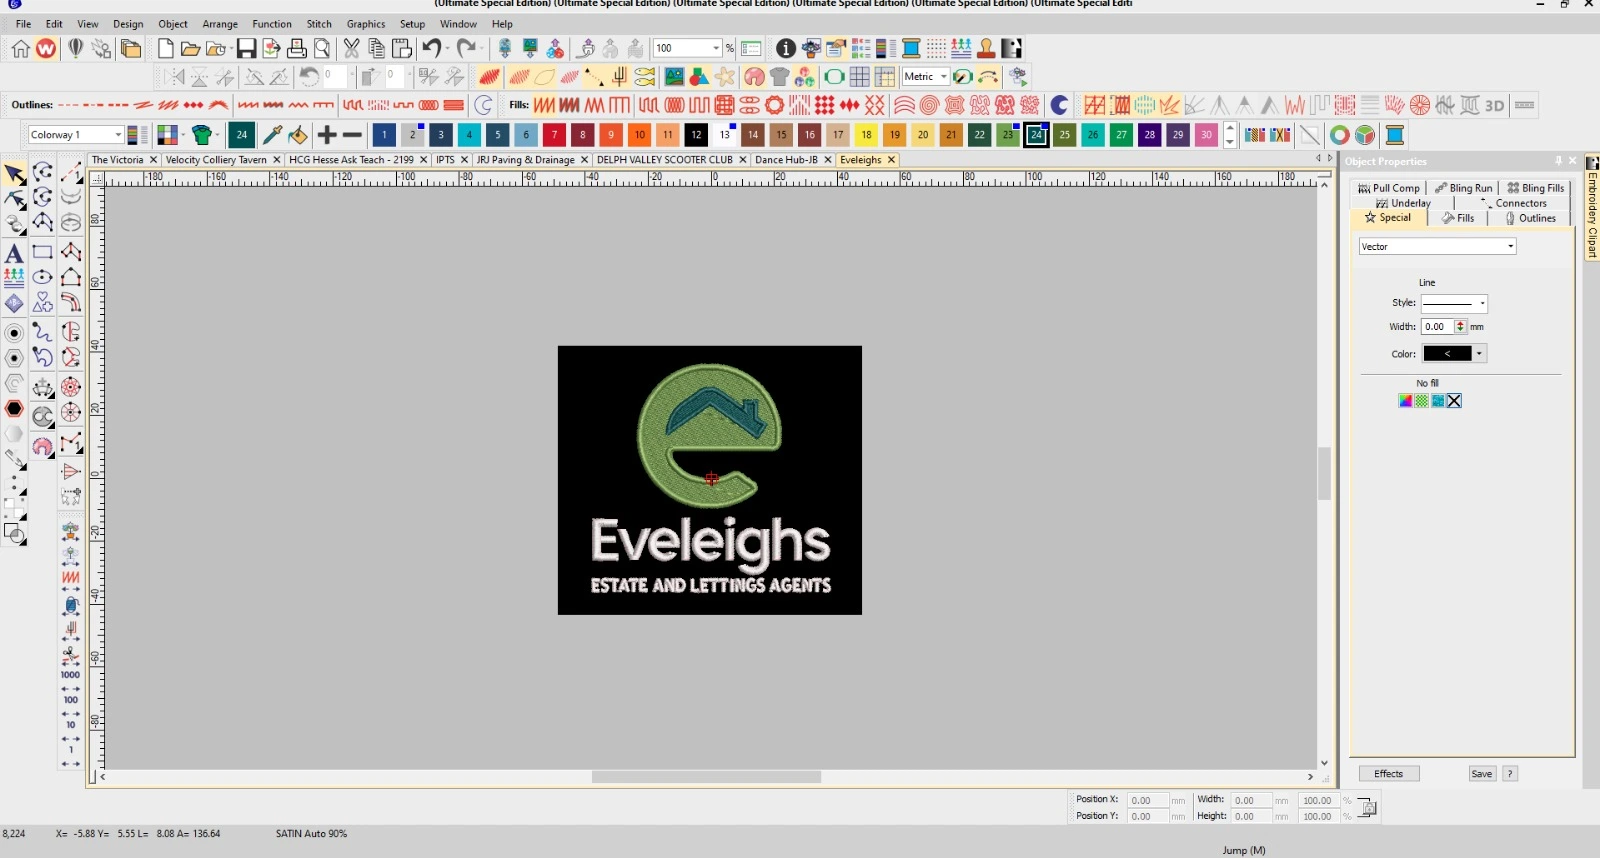
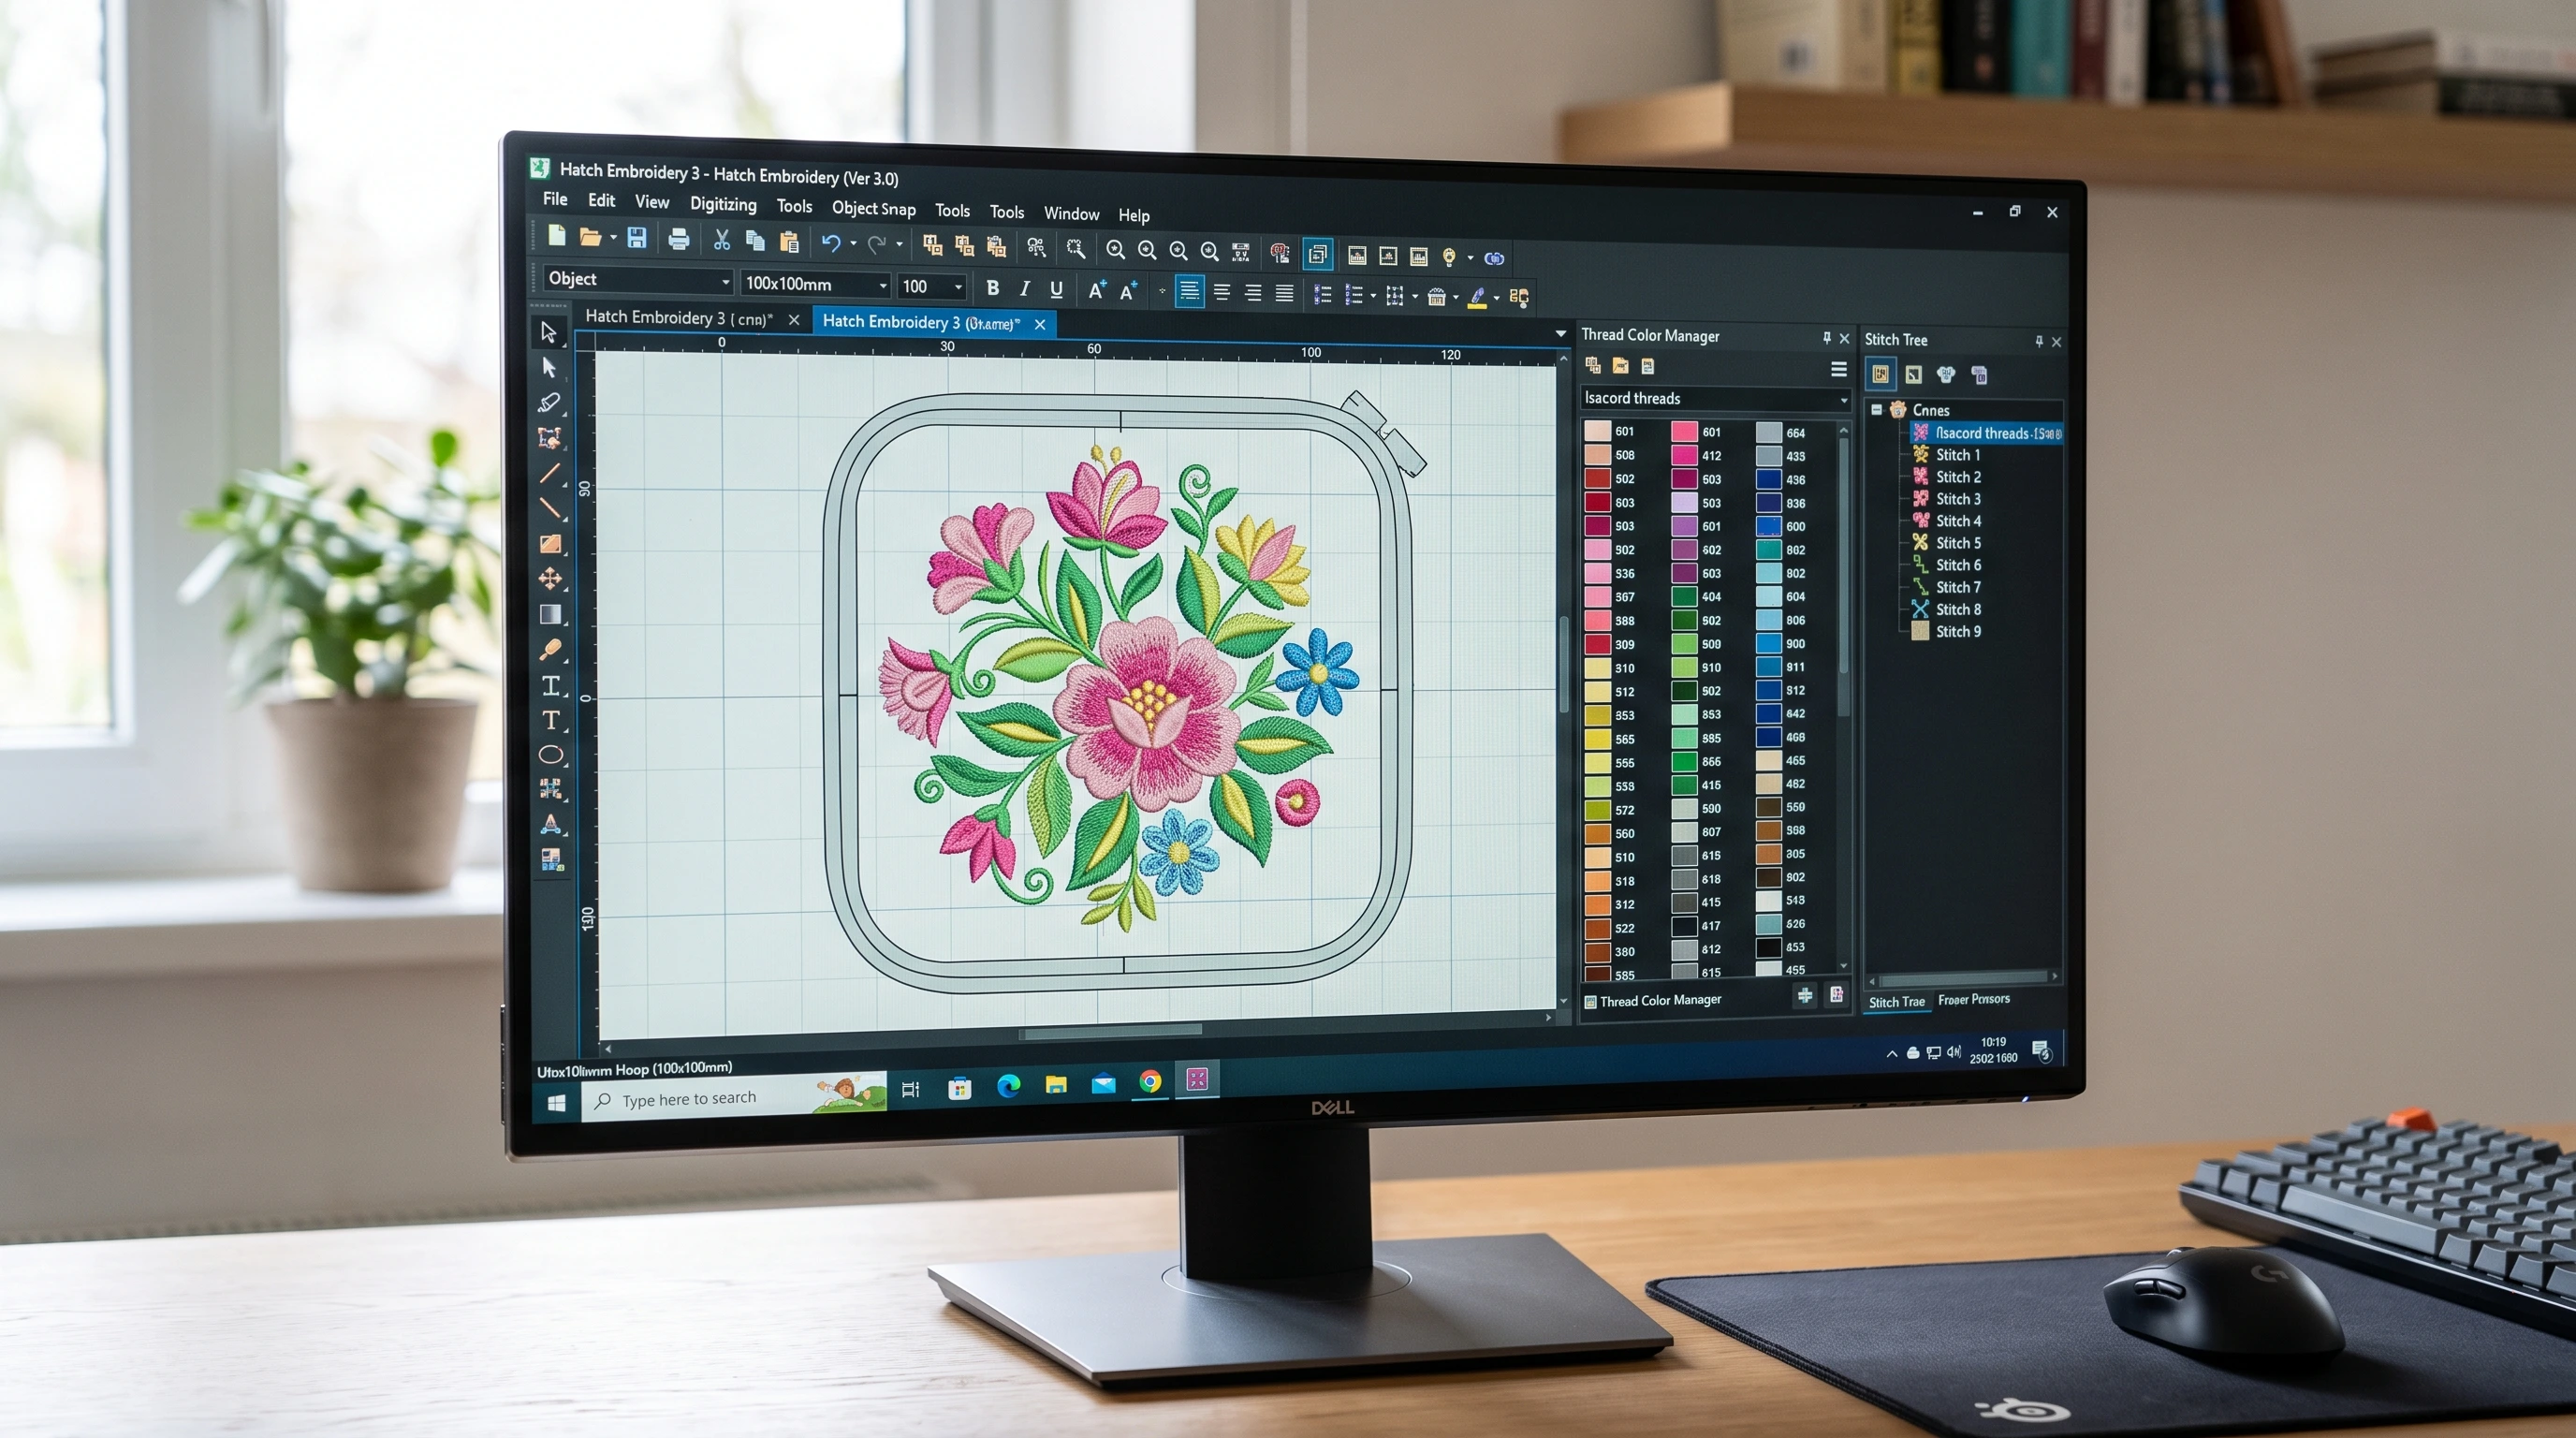
Hatch Embroidery is embroidery design software from Wilcom for working with digital stitch designs. Depending on the level, you can organize files, personalize designs with lettering, convert artwork through auto-digitizing, or manually digitize new designs.
It runs on a computer and prepares designs for compatible embroidery equipment. The software does not replace the machine, and an artwork image still needs to become a stitch design before it can be embroidered.
At the time of this guide’s September 2026 review, the official Hatch website presents Hatch Embroidery 4 as the current version. Older tutorials may show different menus or tools, so check both the version and the product level when following a lesson.
Hatch has four main levels. They build on each other, adding more ways to create and edit designs. The right choice depends on the work you expect to do regularly.
| Level | Main Purpose | Typical Starting Point | Listed Price* |
|---|---|---|---|
| Organizer | Manage, recolor, resize, and output existing embroidery designs. | You mainly stitch designs you already own. | US$199 |
| Personalizer | Add lettering and monograms, alongside Organizer tools. | You personalize gifts, towels, bags, or garments. | US$299 |
| Composer | Add auto-digitizing, object editing, and multi-hooping tools. | You want to convert suitable artwork and edit the resulting designs. | US$699 |
| Digitizer | Add full manual digitizing and advanced creative tools. | You want control over how custom artwork becomes stitches. | US$1,199 |
*New-license prices shown on Hatch’s official pricing page during our review, excluding applicable taxes. Promotions, currency, upgrades, and payment options can change. Confirm the current details before buying.
The official level comparison explains the feature differences, and the pricing page lists current purchase options. Full manual digitizing is the main distinction to check if you plan to build customer logos from scratch.
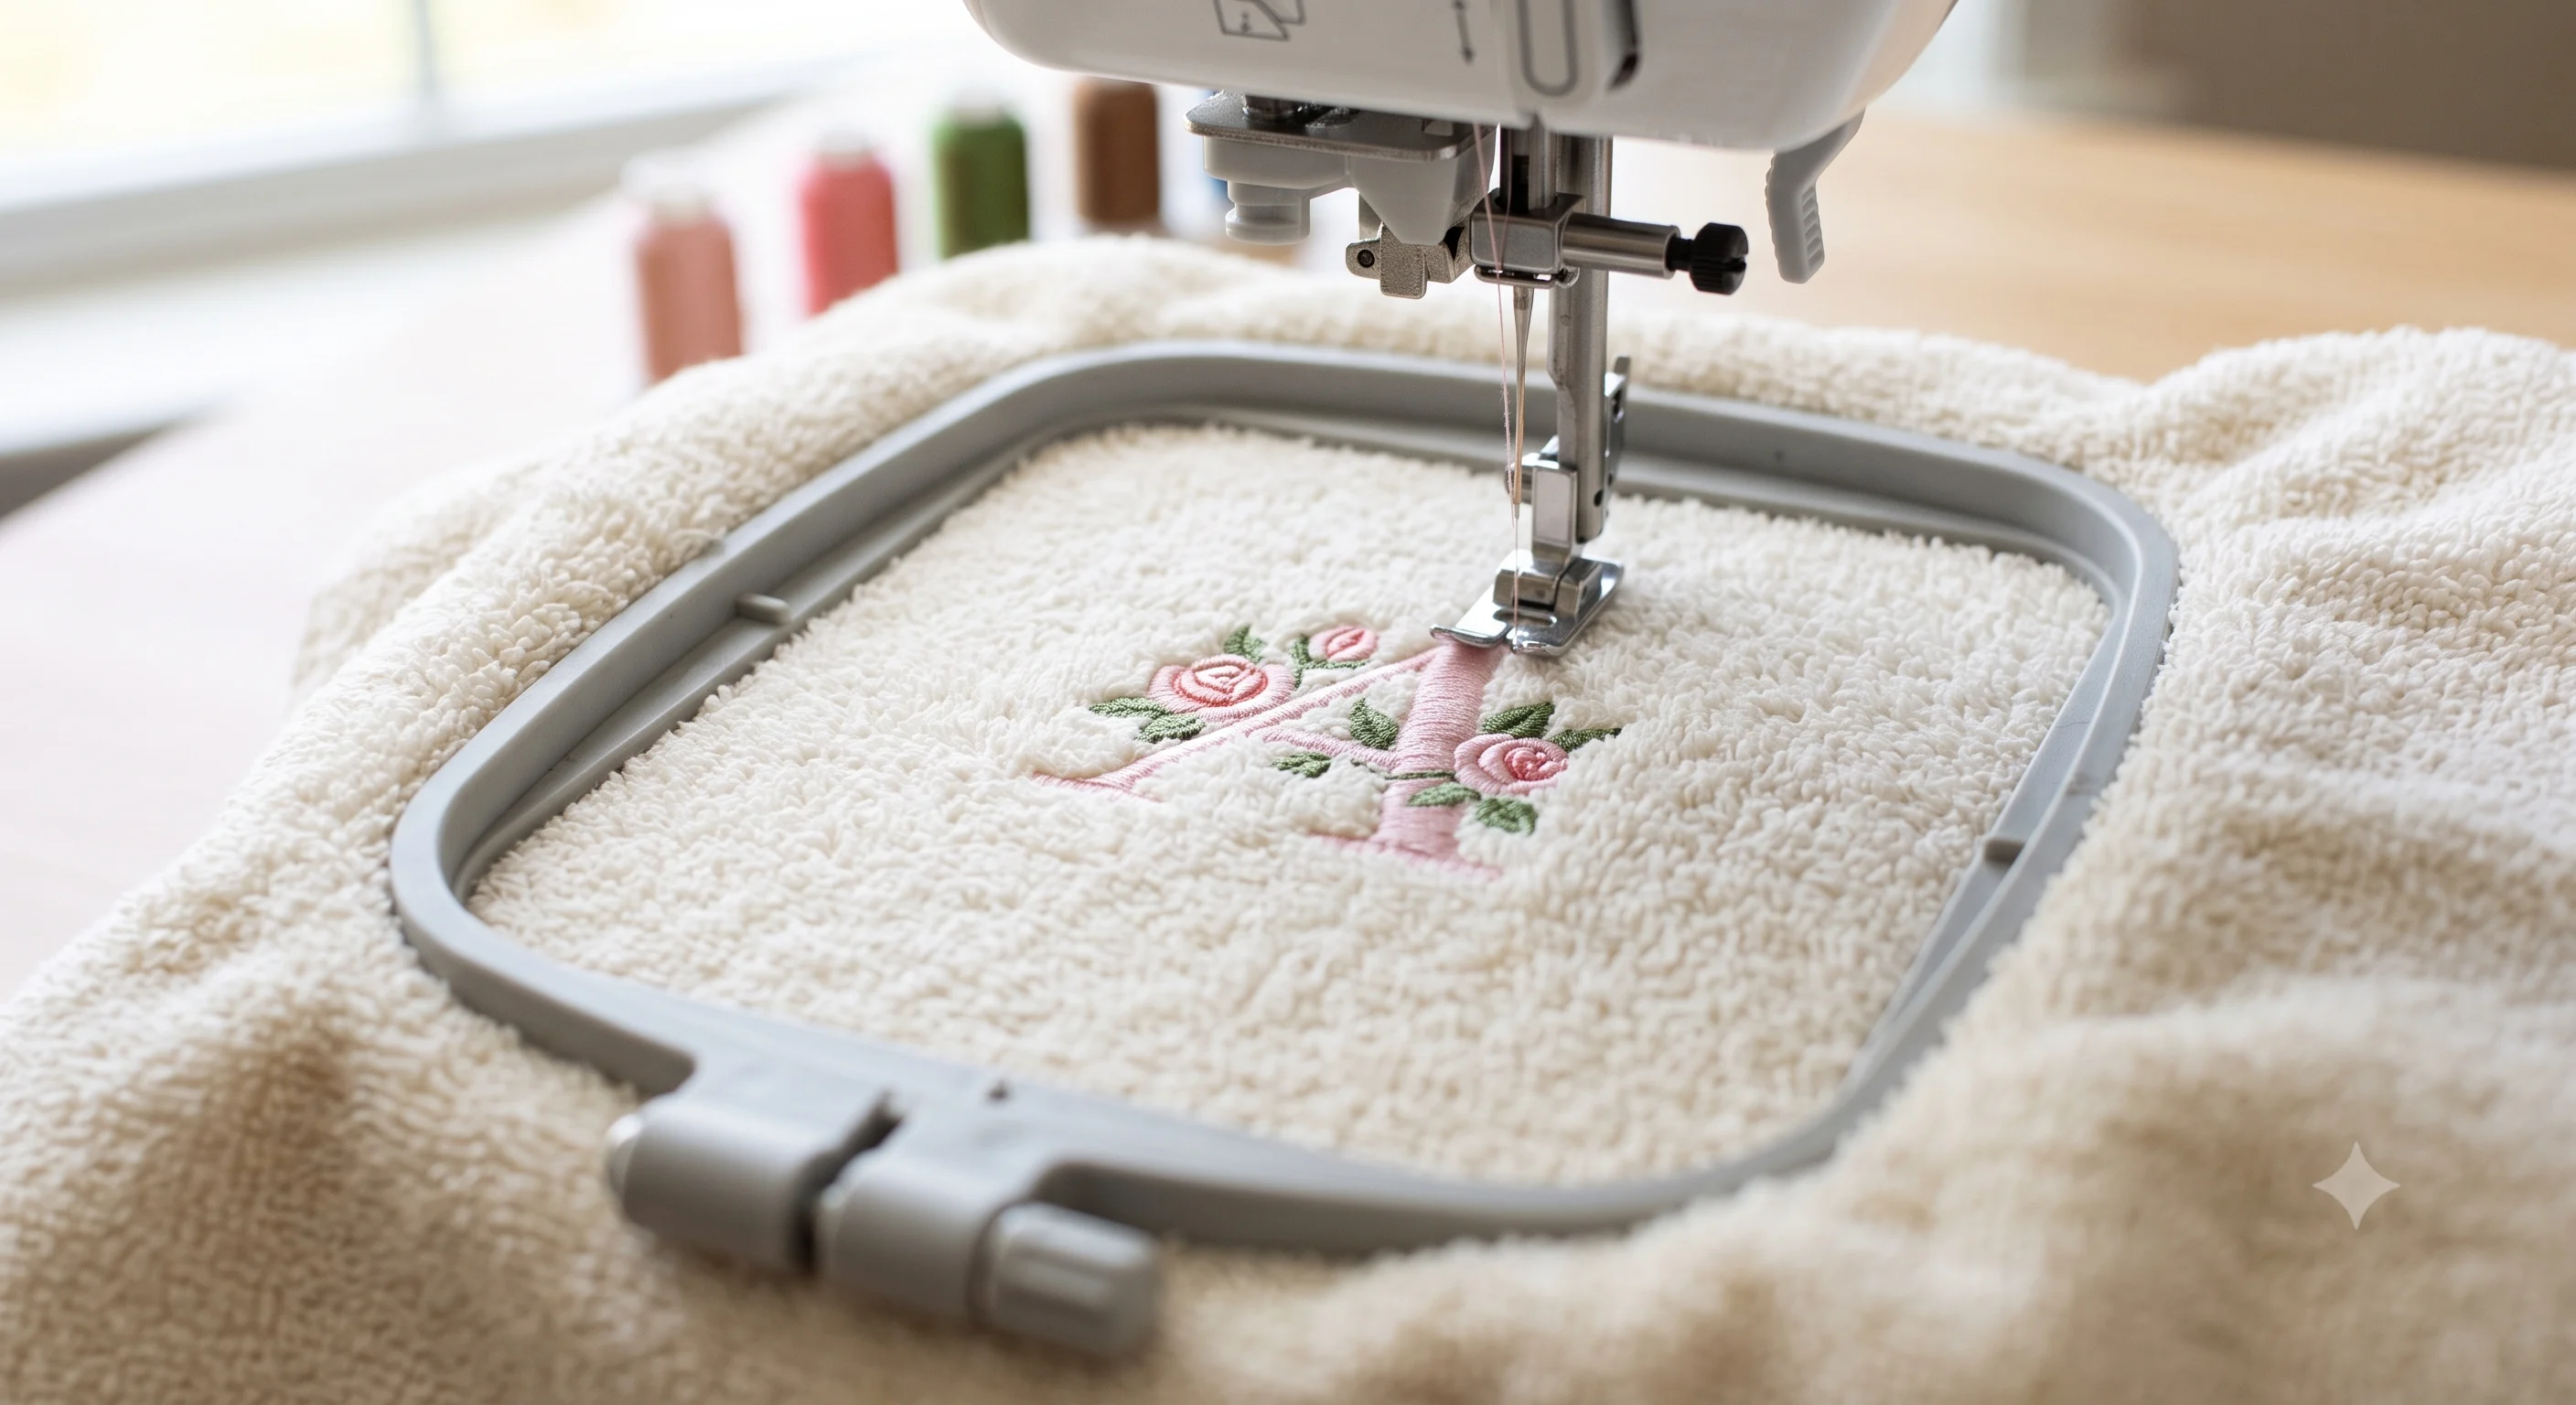
For many small embroidery businesses, personalization is the first useful task. A customer might bring an existing design and ask for a name underneath, or want initials on a set of towels.
Hatch’s lettering tools, available in Personalizer and above, include embroidery fonts and options for arranging text. Built-in fonts display recommended size ranges, which are worth checking before you make lettering smaller.
A font looking attractive on screen does not prove it will remain readable on fabric. Test the actual size, especially for narrow letters, small gaps, or textured materials. For a first project, a short name in a straightforward font is easier to assess than an intricate script monogram.
Manual digitizing lets you build the design in sections and decide how each section will stitch. Hatch Digitizer provides control over object shapes, stitch types, direction, density, and sewing order, as described in its manual digitizing overview.
Consider a simple coffee-cup logo. The cup body, handle, steam, and lettering do not necessarily need the same stitch treatment. You can construct them separately and choose a sequence that suits their overlaps and connections.
That control is useful, but it comes with a learning curve. Knowing where a tool is located and knowing which settings suit a particular fabric are different skills. Start with a small, simple design so you can connect each decision to what happens during the sew-out.
Hatch Composer and Digitizer include auto-digitizing tools that turn suitable artwork into embroidery objects. You can then refine the result. Hatch’s auto-digitizing overview describes tools for identifying shapes, reducing colors, and adjusting the design after conversion.
Clean artwork with clear boundaries is a sensible starting point. Blurry edges, shadows, and tiny details may create areas you do not want stitched.
For example, a photographed logo may contain a background shadow that belongs to the photograph rather than the design. Review the converted objects before sewing, remove anything unnecessary, and inspect the sequence. An automatic result still benefits from a deliberate check.
Keep three things separate: the original artwork, the editable embroidery design, and the file you send to the machine.
Wilcom’s documentation explains the distinction between design and machine files. Its EMB format can retain object outlines and stitch information together. For the export options in your installed Hatch version, consult the Hatch user guide and your machine manual.
Saving an imported machine file as EMB does not automatically restore all the original editable lettering and objects. Preserve the original source file whenever you have it, and work on a copy when experimenting.
If your logo also needs to be printed, keep its vector artwork separately. Our guide to vector design files for professional projects explains why print artwork has a different role.
Choose a project you can complete and inspect. A short name or a simple two-color emblem will teach you more at the beginning than a detailed portrait with many thread changes.
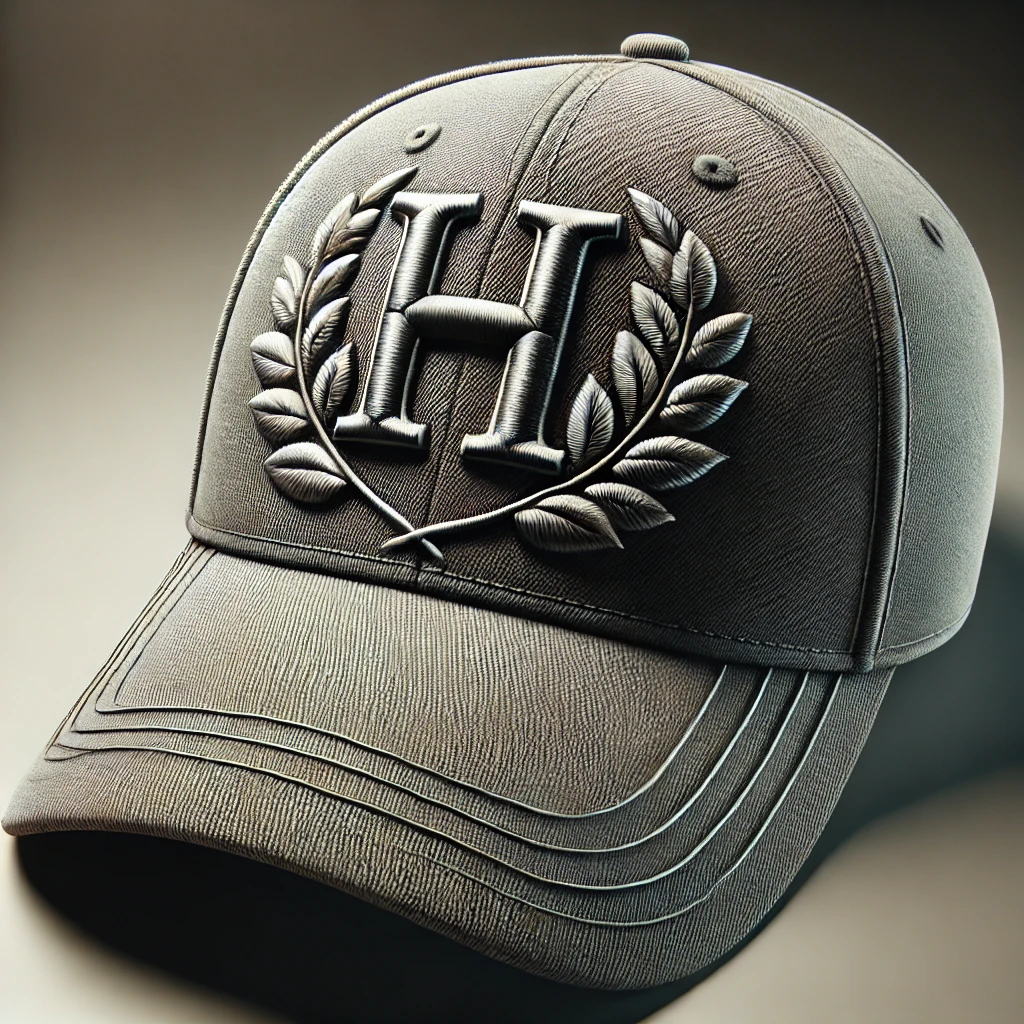
Write down the finished dimensions, garment type, placement, and machine hoop you will use. A design that fits on a jacket back may not work at cap-front size without changes.
Also decide whether the design is flat embroidery or a raised effect. If you are considering foam, read our flat vs 3D puff embroidery comparison before choosing the artwork.
Start with a clear reference. Remove background clutter and identify any detail that may be too small at the finished size. Enlarge the artwork on screen to inspect it, but make your decisions using the actual embroidery dimensions.
Use lettering tools for a name, auto-digitizing for suitable artwork you can review, or manual digitizing when you need to construct the stitch objects yourself. Your available tools depend on the Hatch level you own.
Use the stitch simulation to examine how the design builds. Look for unexpected background fills, repeated sewing over the same area, and connections across spaces that should remain empty. Check what happens where outlines and fills meet.
Keep the working file and export a separate machine file. Include the size or version in the filename so you can distinguish revisions. Before sewing, confirm that the machine displays the expected dimensions and that the design fits its usable embroidery area.
Use the planned fabric and stabilizer, or a representative sample. Inspect the front and back after stitching. Record any change you make so you know which version produced the better result.
If the machine shows loops or thread breaks, investigate the production setup as well as the file. Our guide to embroidery thread tension problems can help you separate possible causes.
Hatch Embroidery 4 is Windows software. The official system requirements currently specify Windows 11 64-bit, with 16 GB RAM as the minimum and 32 GB or more recommended. Processor, graphics, storage, and display requirements also matter.
Hatch describes Mac use through Parallels, which runs a Windows environment. That is different from a native macOS application. Check the requirements for your Mac, Windows installation, Parallels setup, and license before purchasing. The official trial page currently describes the trial as Windows 11 only.
Hatch is paid software, with a free trial available through the official website. At the time of review, the Hatch Embroidery 4 trial lasts 30 days, lets you explore all four levels, and states a limit of 30 design exports during the trial.
Use that period to finish a few realistic tasks: personalize one design, work with your own artwork, export for your machine, and stitch a sample. Those results will tell you more than the number of tools you tried.
When comparing costs, allow for learning time and test materials as well as the software price. Check current terms directly, especially if you are upgrading from an older version or considering a payment plan.
Both approaches can make sense. The useful question is which work you want to handle yourself and which jobs need outside help.
| Your Situation | A Practical Approach |
|---|---|
| You frequently add names to established designs. | Learn the personalization tools so you can manage routine changes yourself. |
| You want to create original embroidery regularly. | Invest time in digitizing skills and evaluate the tools needed for your work. |
| A detailed customer logo has a deadline you cannot comfortably meet. | Consider a professional digitizing service while keeping time for a test sew-out. |
| You enjoy digitizing but occasionally receive difficult designs. | Handle familiar work yourself and seek help with the exceptions. |
Owning software does not obligate you to digitize every order. Equally, using a service does not stop you from learning. You might prepare routine lettering in Hatch and outsource a complicated logo, then use your machine experience to evaluate the resulting file.
DigitizingMill provides embroidery digitizing for business logos, caps, left-chest placements, jacket backs, and other projects. Send your artwork, finished size, fabric, placement, and machine format so we can review the preparation your design needs.
If you also plan to edit the design in Hatch, tell us your Hatch version and what changes you want to make. Confirm the editable-file requirements before ordering so the delivery matches your workflow.
Request an embroidery digitizing quote from DigitizingMill.
It can be, especially when you begin with a focused task such as personalizing an existing design. Creating custom logos requires additional learning and sew-out practice. Choose the level that supports the work you want to learn.
Composer and Digitizer offer auto-digitizing for suitable artwork. Review the converted design for unwanted shapes, small details, and sewing order before exporting and testing it.
Not necessarily. Personalizer includes lettering and monogramming tools. Full manual digitizing is relevant when you want to construct new embroidery designs yourself.
No. Hatch and EmbroideryStudio are different software products from Wilcom. They share embroidery technology, but their packages, licenses, and tools are not interchangeable.
Hatch supports output for many embroidery brands. Check the format, hoop area, and transfer method for your exact model. Brand support does not mean every model supports every file format or wireless feature.
It cannot reliably decide what an unclear detail was intended to be. Clean up the reference or clarify the design first, then inspect and test the embroidery result.