❝45% Off❞
Sign up now and get exclusive offers, discounts, and updates on our latest services.
You send a logo to an embroidery shop, and the first question is, “Do you have the digitized file?” Another supplier asks whether the design has been punched. Then someone mentions traveling, jumps, and trims. It can sound like several different jobs are needed before your logo reaches a shirt.
The main difference is simple: embroidery digitizing creates the stitch instructions, punching is an older industry term for that same work, embroidery produces the stitched design on fabric, and traveling describes how the design moves between stitching areas. Understanding these terms helps you order the right service and ask more useful questions about your files.
| Term | What It Means | What You Get |
|---|---|---|
| Digitizing | Preparing artwork as embroidery objects and stitch instructions. | A digital embroidery design and an appropriate machine file. |
| Punching | A traditional trade term commonly used for embroidery digitizing. | The same type of stitch-file preparation. |
| Embroidery | Stitching the design onto fabric using thread and a needle. | A physical embroidered garment, patch, or fabric sample. |
| Traveling | Planning and executing connections between parts of the design. | A route within the embroidery file, rather than a separate product. |
Embroidery digitizing is the process of preparing artwork so an embroidery machine can reproduce it in stitches. The digitizer decides how each part of the design will be sewn, including the stitch type, direction, spacing, and sequence.
A machine needs more information than the outline of your logo. It needs instructions that account for thread, fabric, and the finished size. A narrow line might become running stitches, lettering might use satin stitches, and a broad area might need a tatami fill.
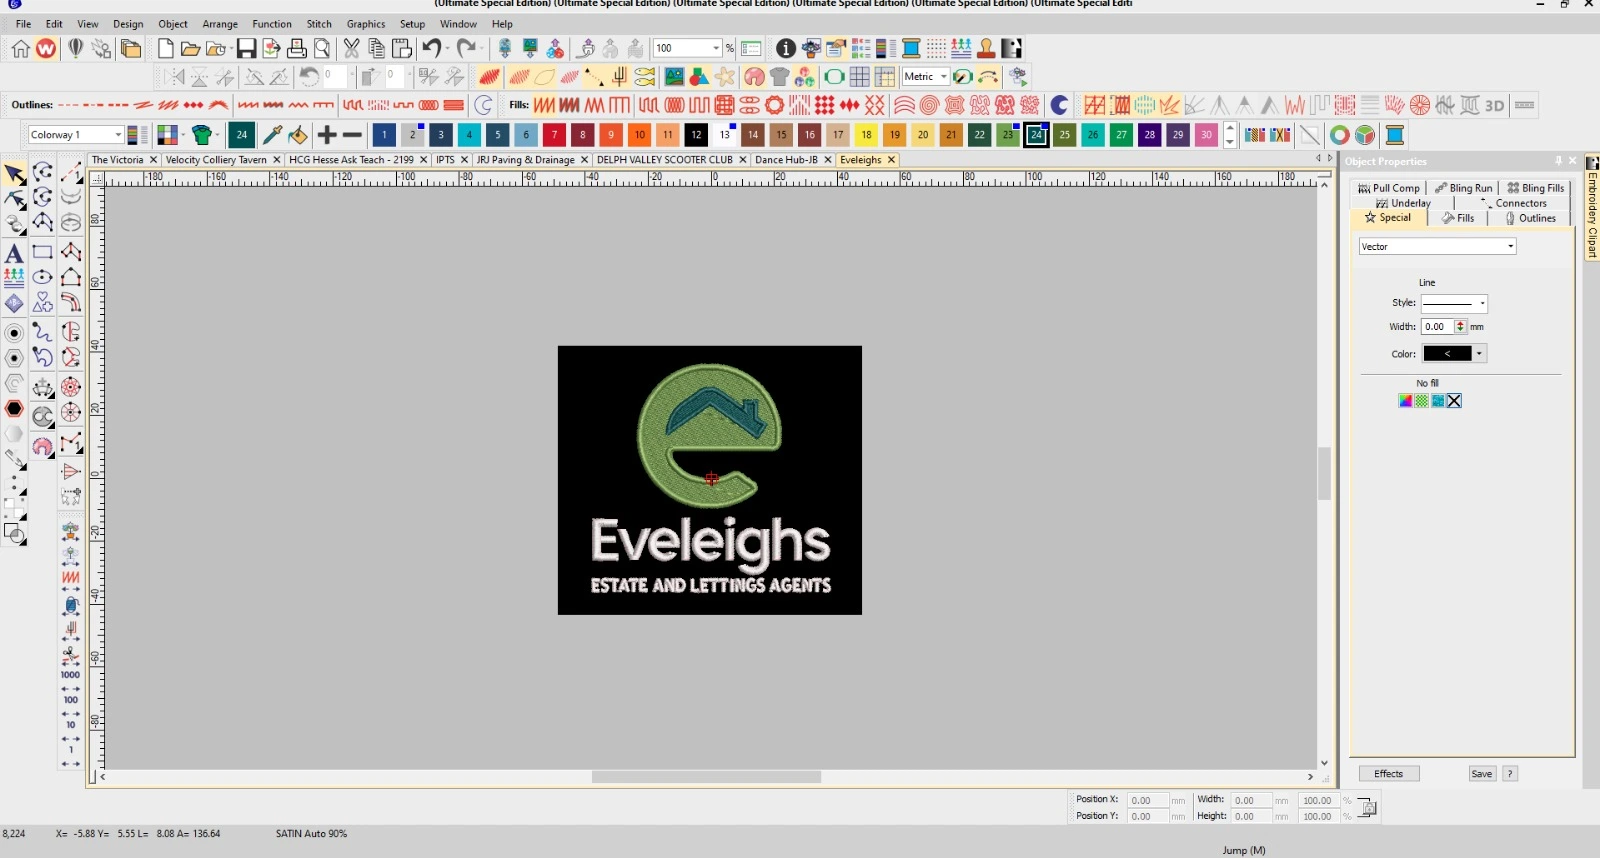
Professional software such as Wilcom EmbroideryStudio lets a digitizer build and edit embroidery objects with these properties. Wilcom’s digitizing documentation explains how embroidery objects carry settings such as stitch type and density.
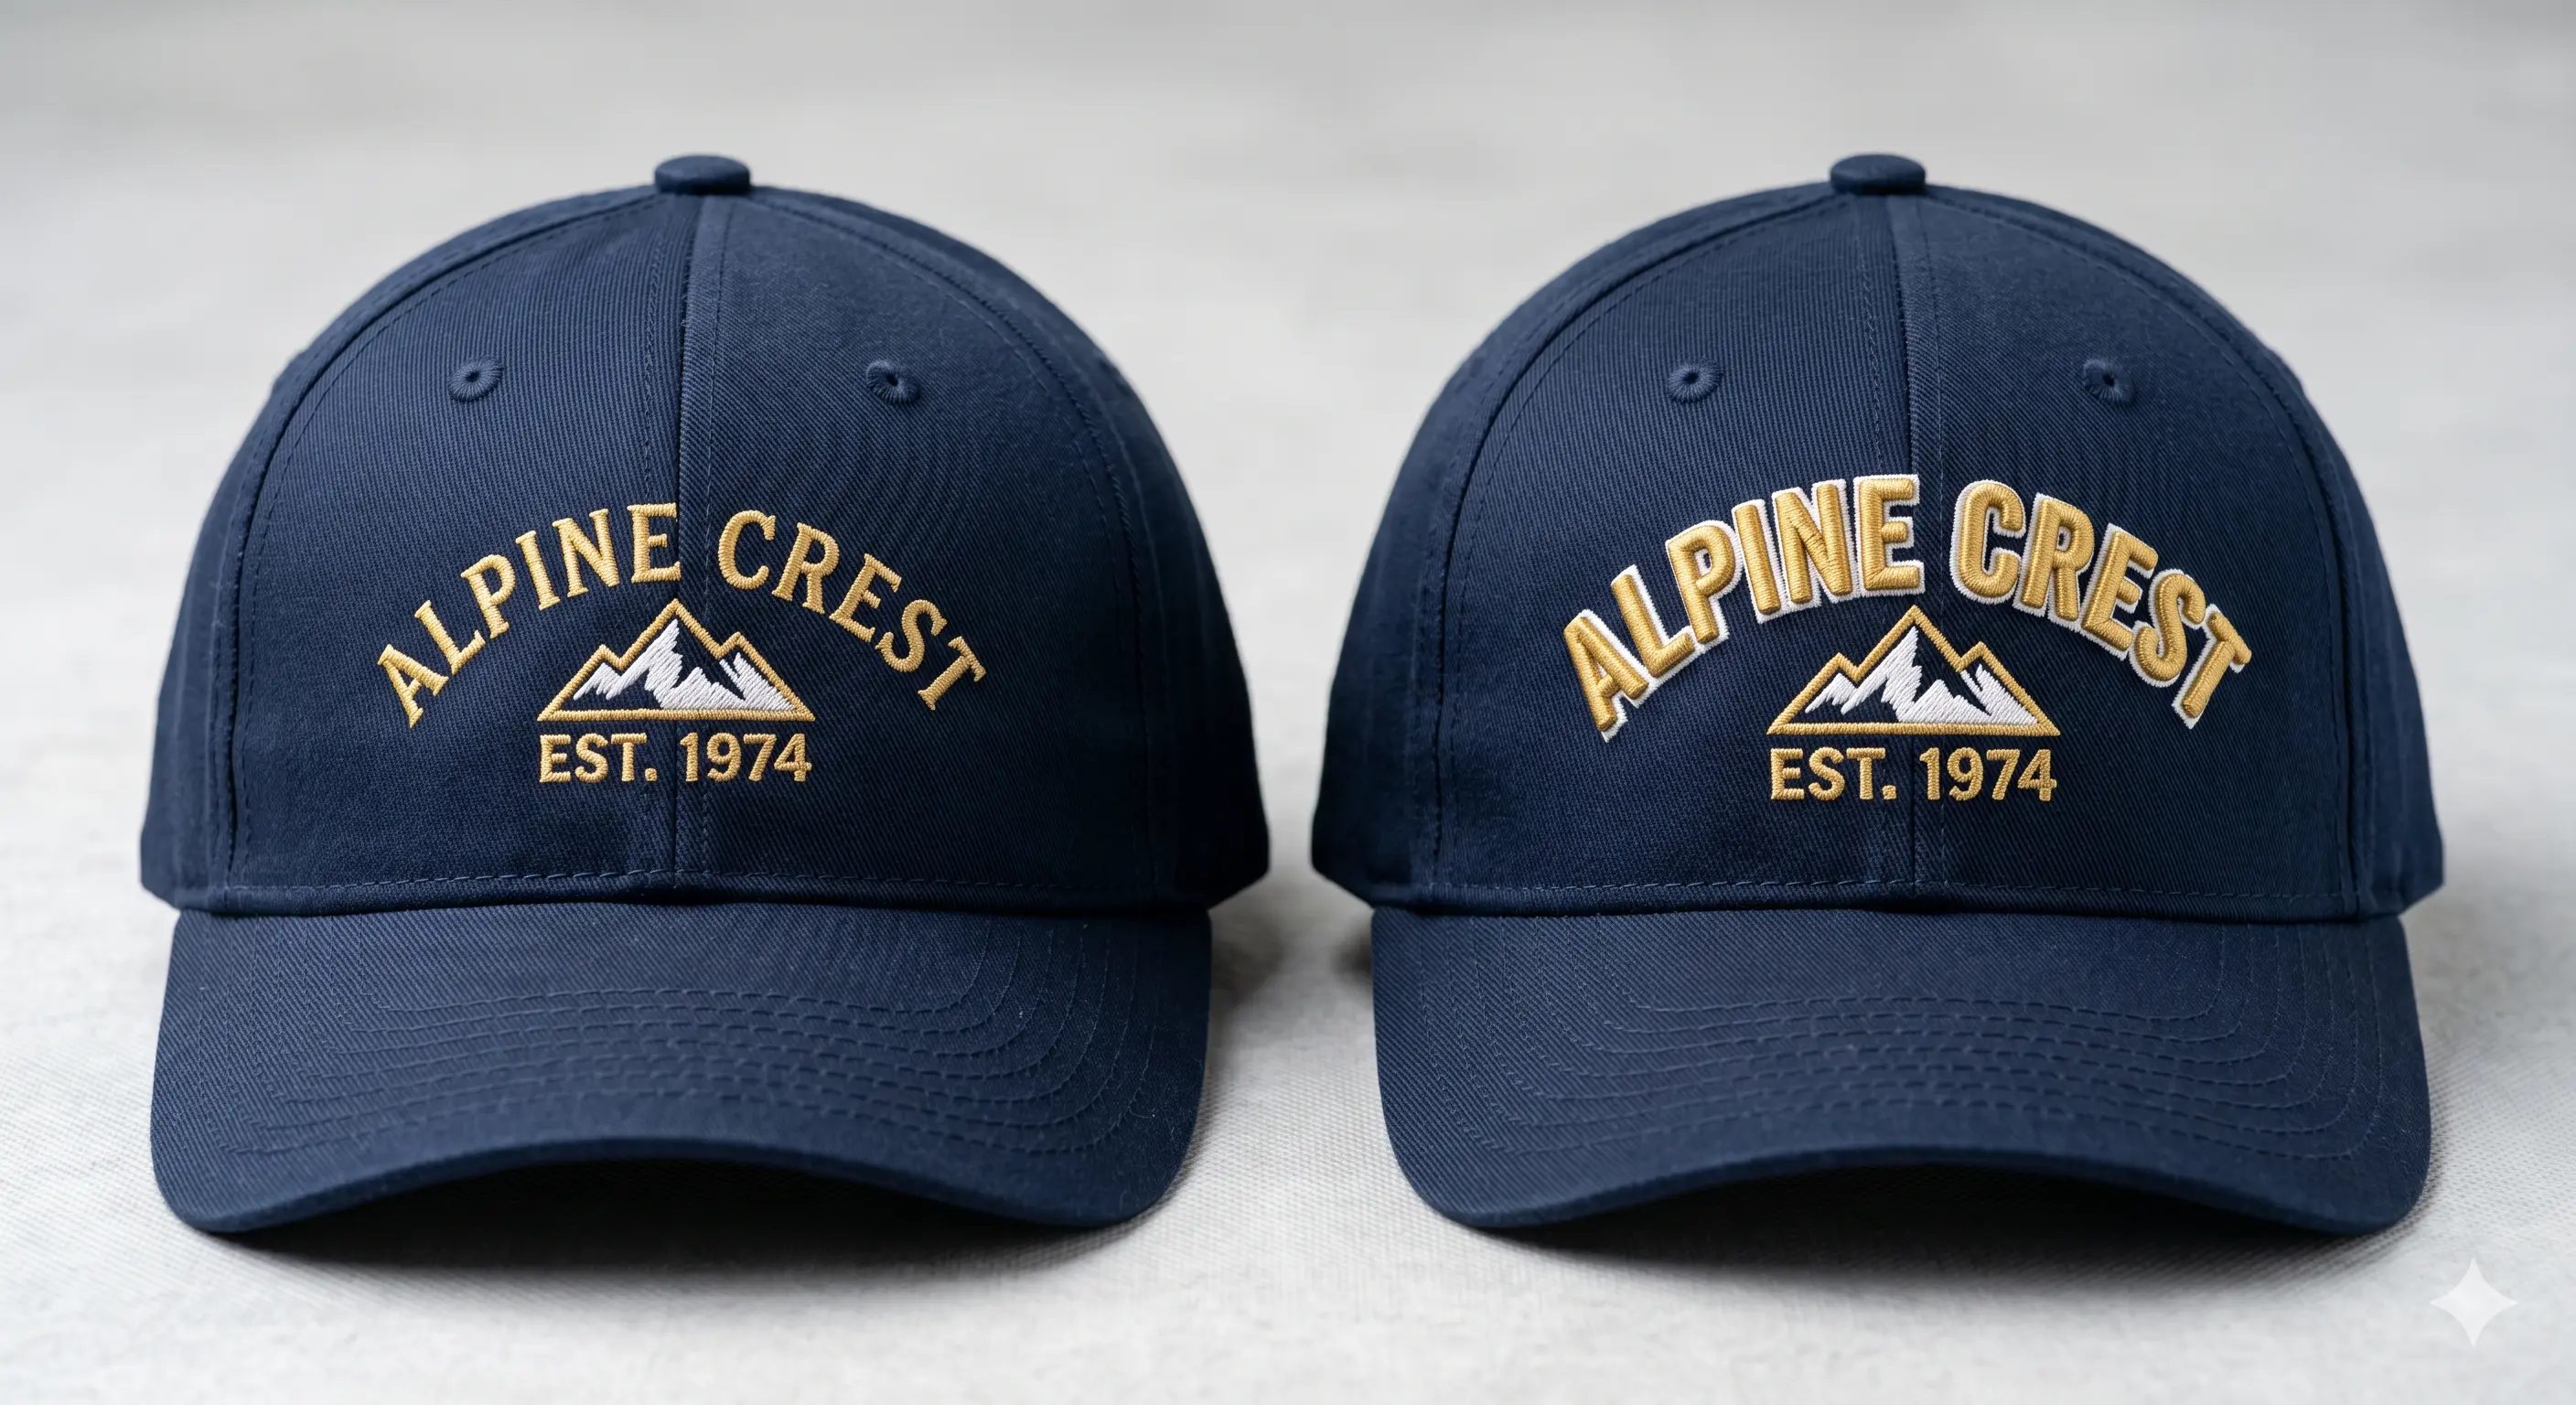
Consider a logo with a small slogan underneath. The slogan may look clear in a large PDF, but become difficult to stitch at left-chest size. Your digitizer may recommend enlarging the lettering, opening up the spacing, or removing a detail that will not reproduce clearly.
The fabric matters too. A stretchy polo and a firm canvas bag do not respond to stitching in the same way. Underlay, stitch spacing, and pull compensation need to suit the material and the design. Wilcom’s embroidery reinforcement guide describes how these settings work together to support the stitched result.
This is why “convert my logo to embroidery” involves more than changing a file extension. The artwork has to be interpreted for the way it will actually be used.
In commercial embroidery, punching is a traditional term for creating the stitch instructions for a design. You may hear a supplier say “logo punching,” “design punching,” or “embroidery punching” when discussing digitizing.
For most modern orders, embroidery digitizing and punching describe the same service. The wording alone does not indicate a different level of quality, a special file format, or an additional production step.
If one shop offers digitizing and another offers punching, compare what they deliver: the finished design size, the intended fabric, machine compatibility, and how revisions are handled. Those details tell you more than the service name.
No. Punch needle embroidery is a separate textile technique that uses a punch needle tool to create loops in fabric. When an embroidery file supplier offers punching, they usually mean preparing a digital stitch design, not making a punch needle piece.
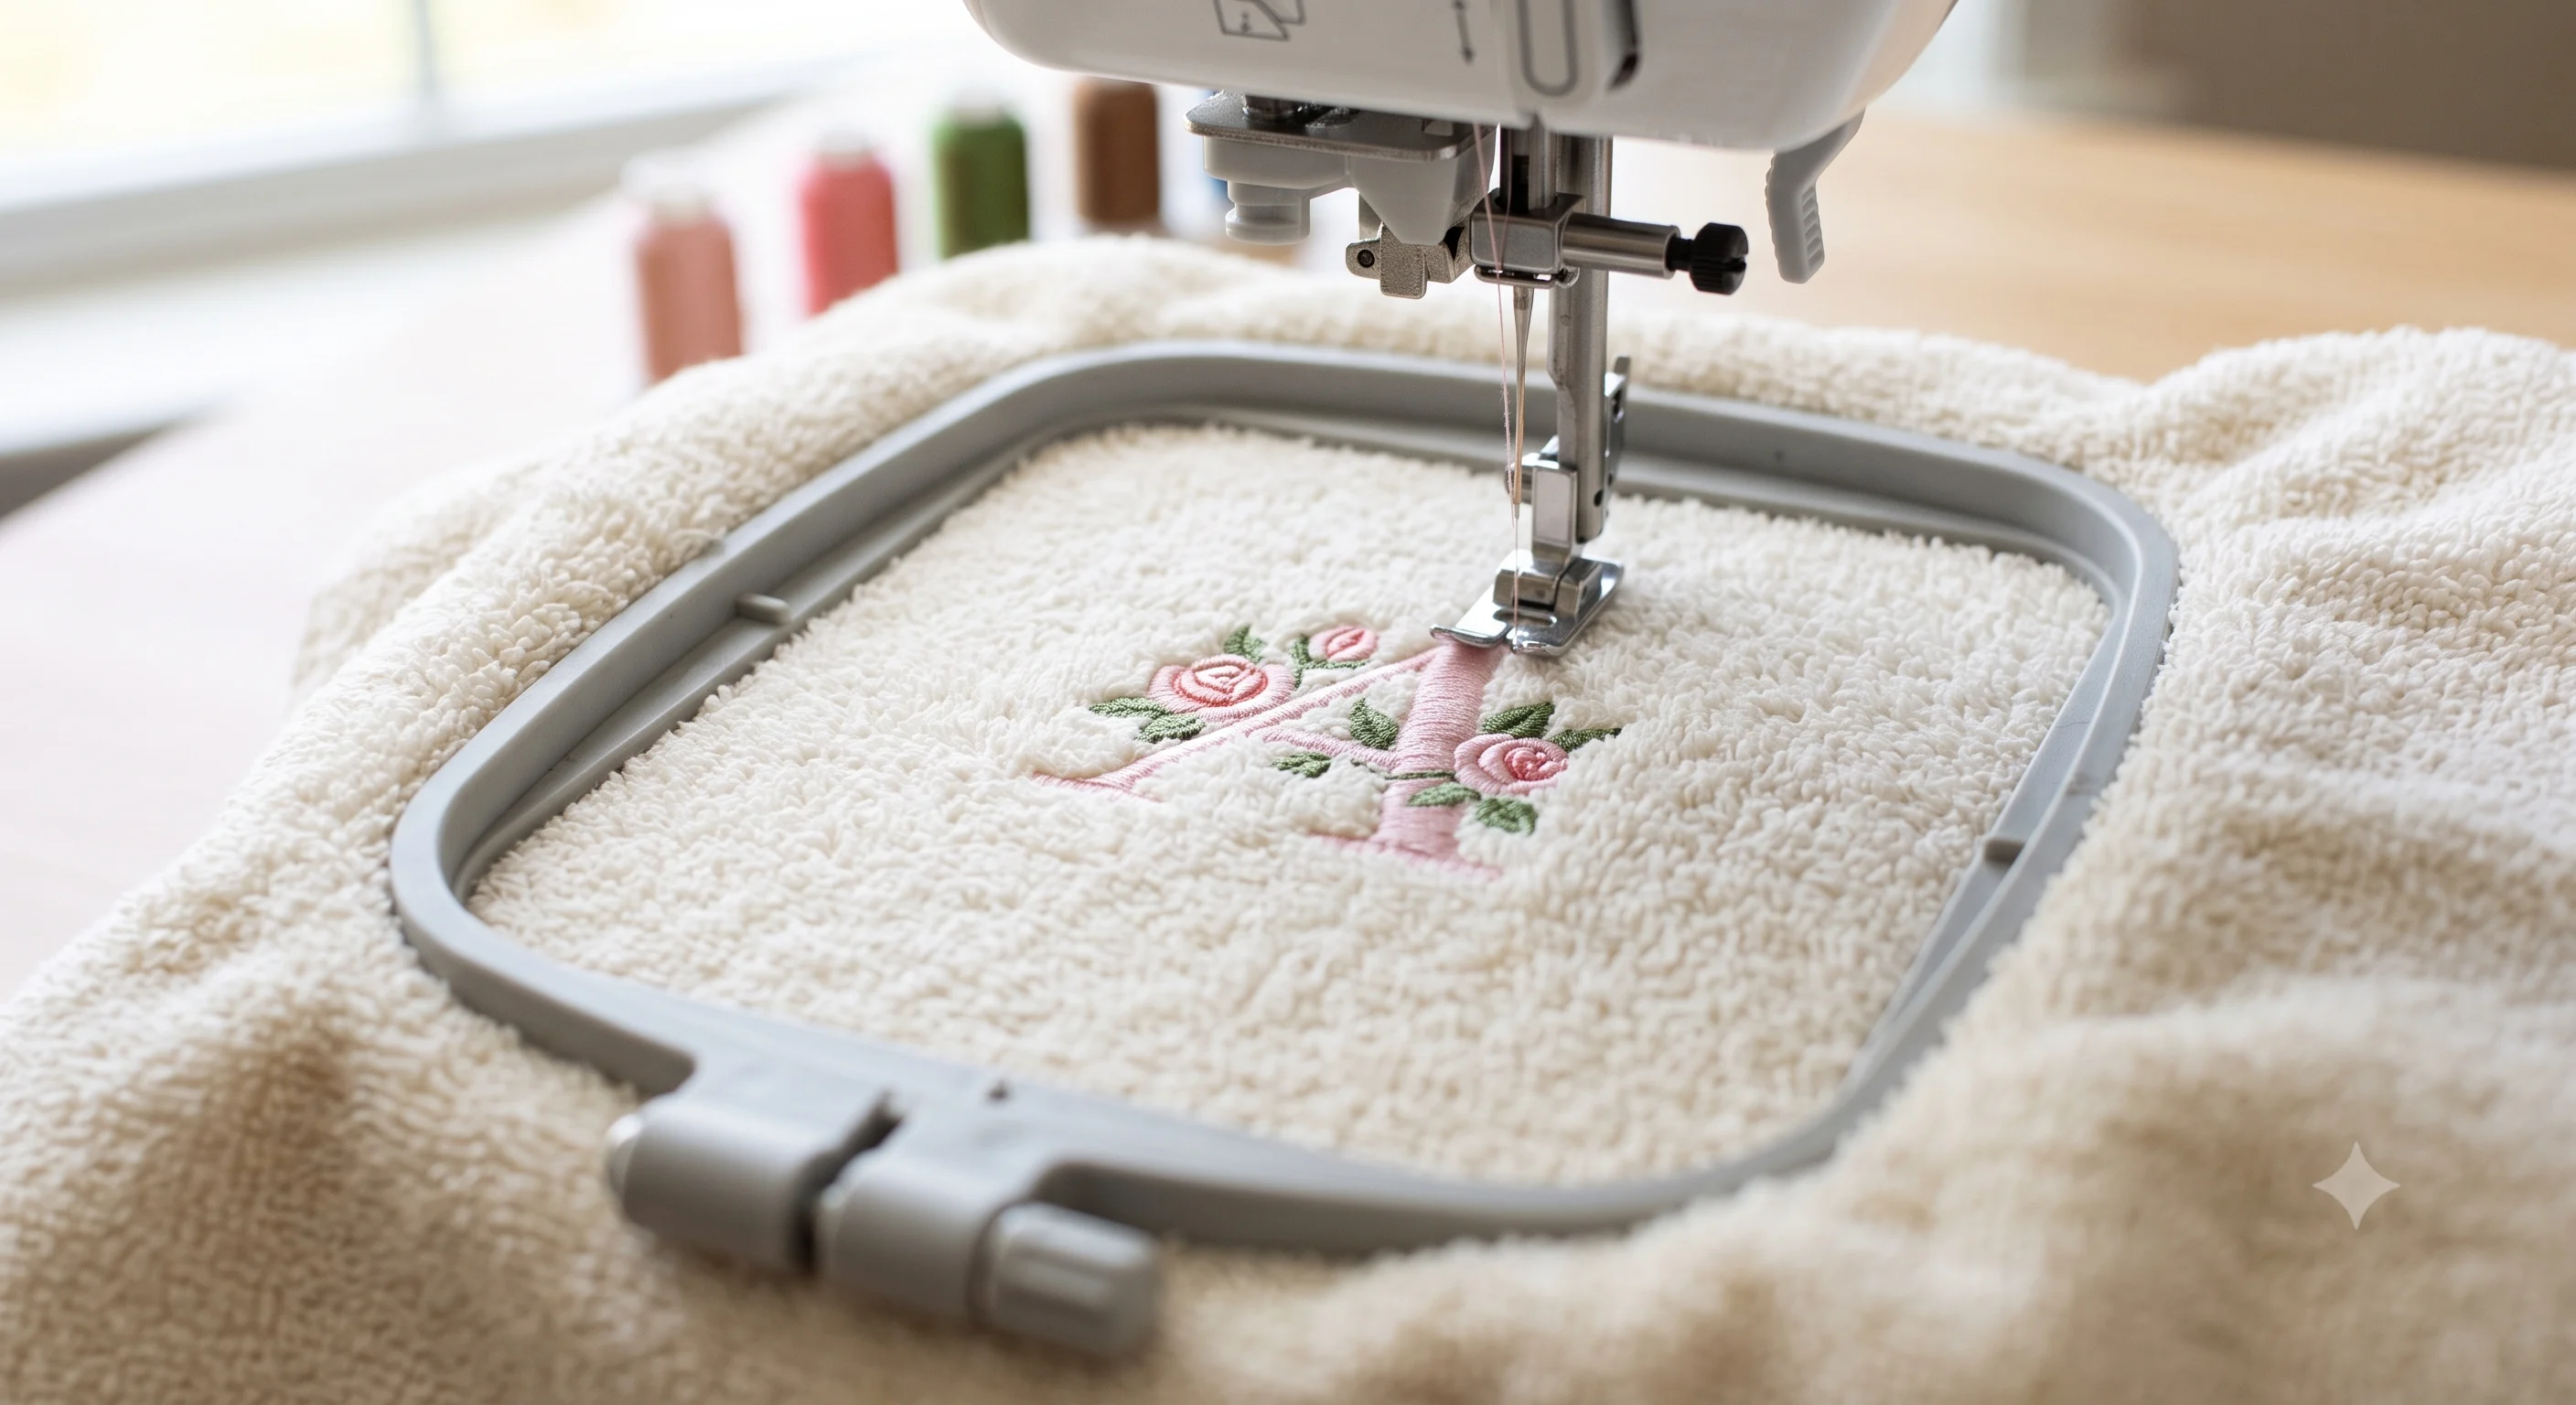
Embroidery is the physical process of decorating fabric with thread. It can be done by hand or machine. In this guide, we are discussing machine embroidery, where equipment follows a prepared stitch file.
During production, the operator loads the design, selects the threads, prepares the garment and stabilizer, positions the hoop, and runs the machine. The result is something you can touch: a logo on a polo, a design on a cap, or an embroidered patch.
A digitizing order supplies the digital preparation. It does not automatically include the garment or the stitching service. If you need finished products, confirm that the quote covers both file preparation and physical production.
Your chosen embroidery style also affects the preparation. Raised foam embroidery has different requirements from flat stitching. Our guide to flat vs 3D puff embroidery explains which designs suit each approach.
Traveling refers to how stitching progresses from one area of a design to another. Planning that route is part of digitizing. The digitizer considers where each object starts and ends, which object comes next, and how the connection will affect the finished embroidery.
“Traveling” can also mean stepping through stitches in embroidery software to inspect the sewing sequence. Here, we are focusing on the production path and its connections.
A jump and a trim are different actions. An untrimmed jump can leave a connecting thread across an open space. Wilcom’s guide to connector types distinguishes runs, jumps, tie stitches, and trims.
Imagine a three-leaf logo. If the leaves meet at the stem, a digitizer may be able to connect them with running stitches that will be covered later. If the leaves are separated by visible fabric, stitching a line straight across the gap would add a mark that does not belong in the artwork.
In the second case, a jump and an appropriate trim may be the cleaner choice. The aim is to remove unnecessary movement while preserving the design. A file with zero trims is not automatically better.
Entry and exit points deserve another check after objects are moved or reordered. A connection that made sense in the original layout may become inefficient after an edit. Wilcom documents this issue in its guidance on minimizing connectors.
A screen preview helps with approval, but a sew-out shows how thread and fabric behave together. Check lettering, outlines, coverage, unwanted connections, and puckering. If a revision is needed, send clear photographs and production details so the cause can be investigated.
The file you send to a digitizer and the file you load into a machine usually serve different purposes.
| File Type | Typical Use | What to Know |
|---|---|---|
| JPG, PNG, or artwork PDF | Showing the logo or design to be digitized. | These artwork files do not themselves provide embroidery stitch instructions. |
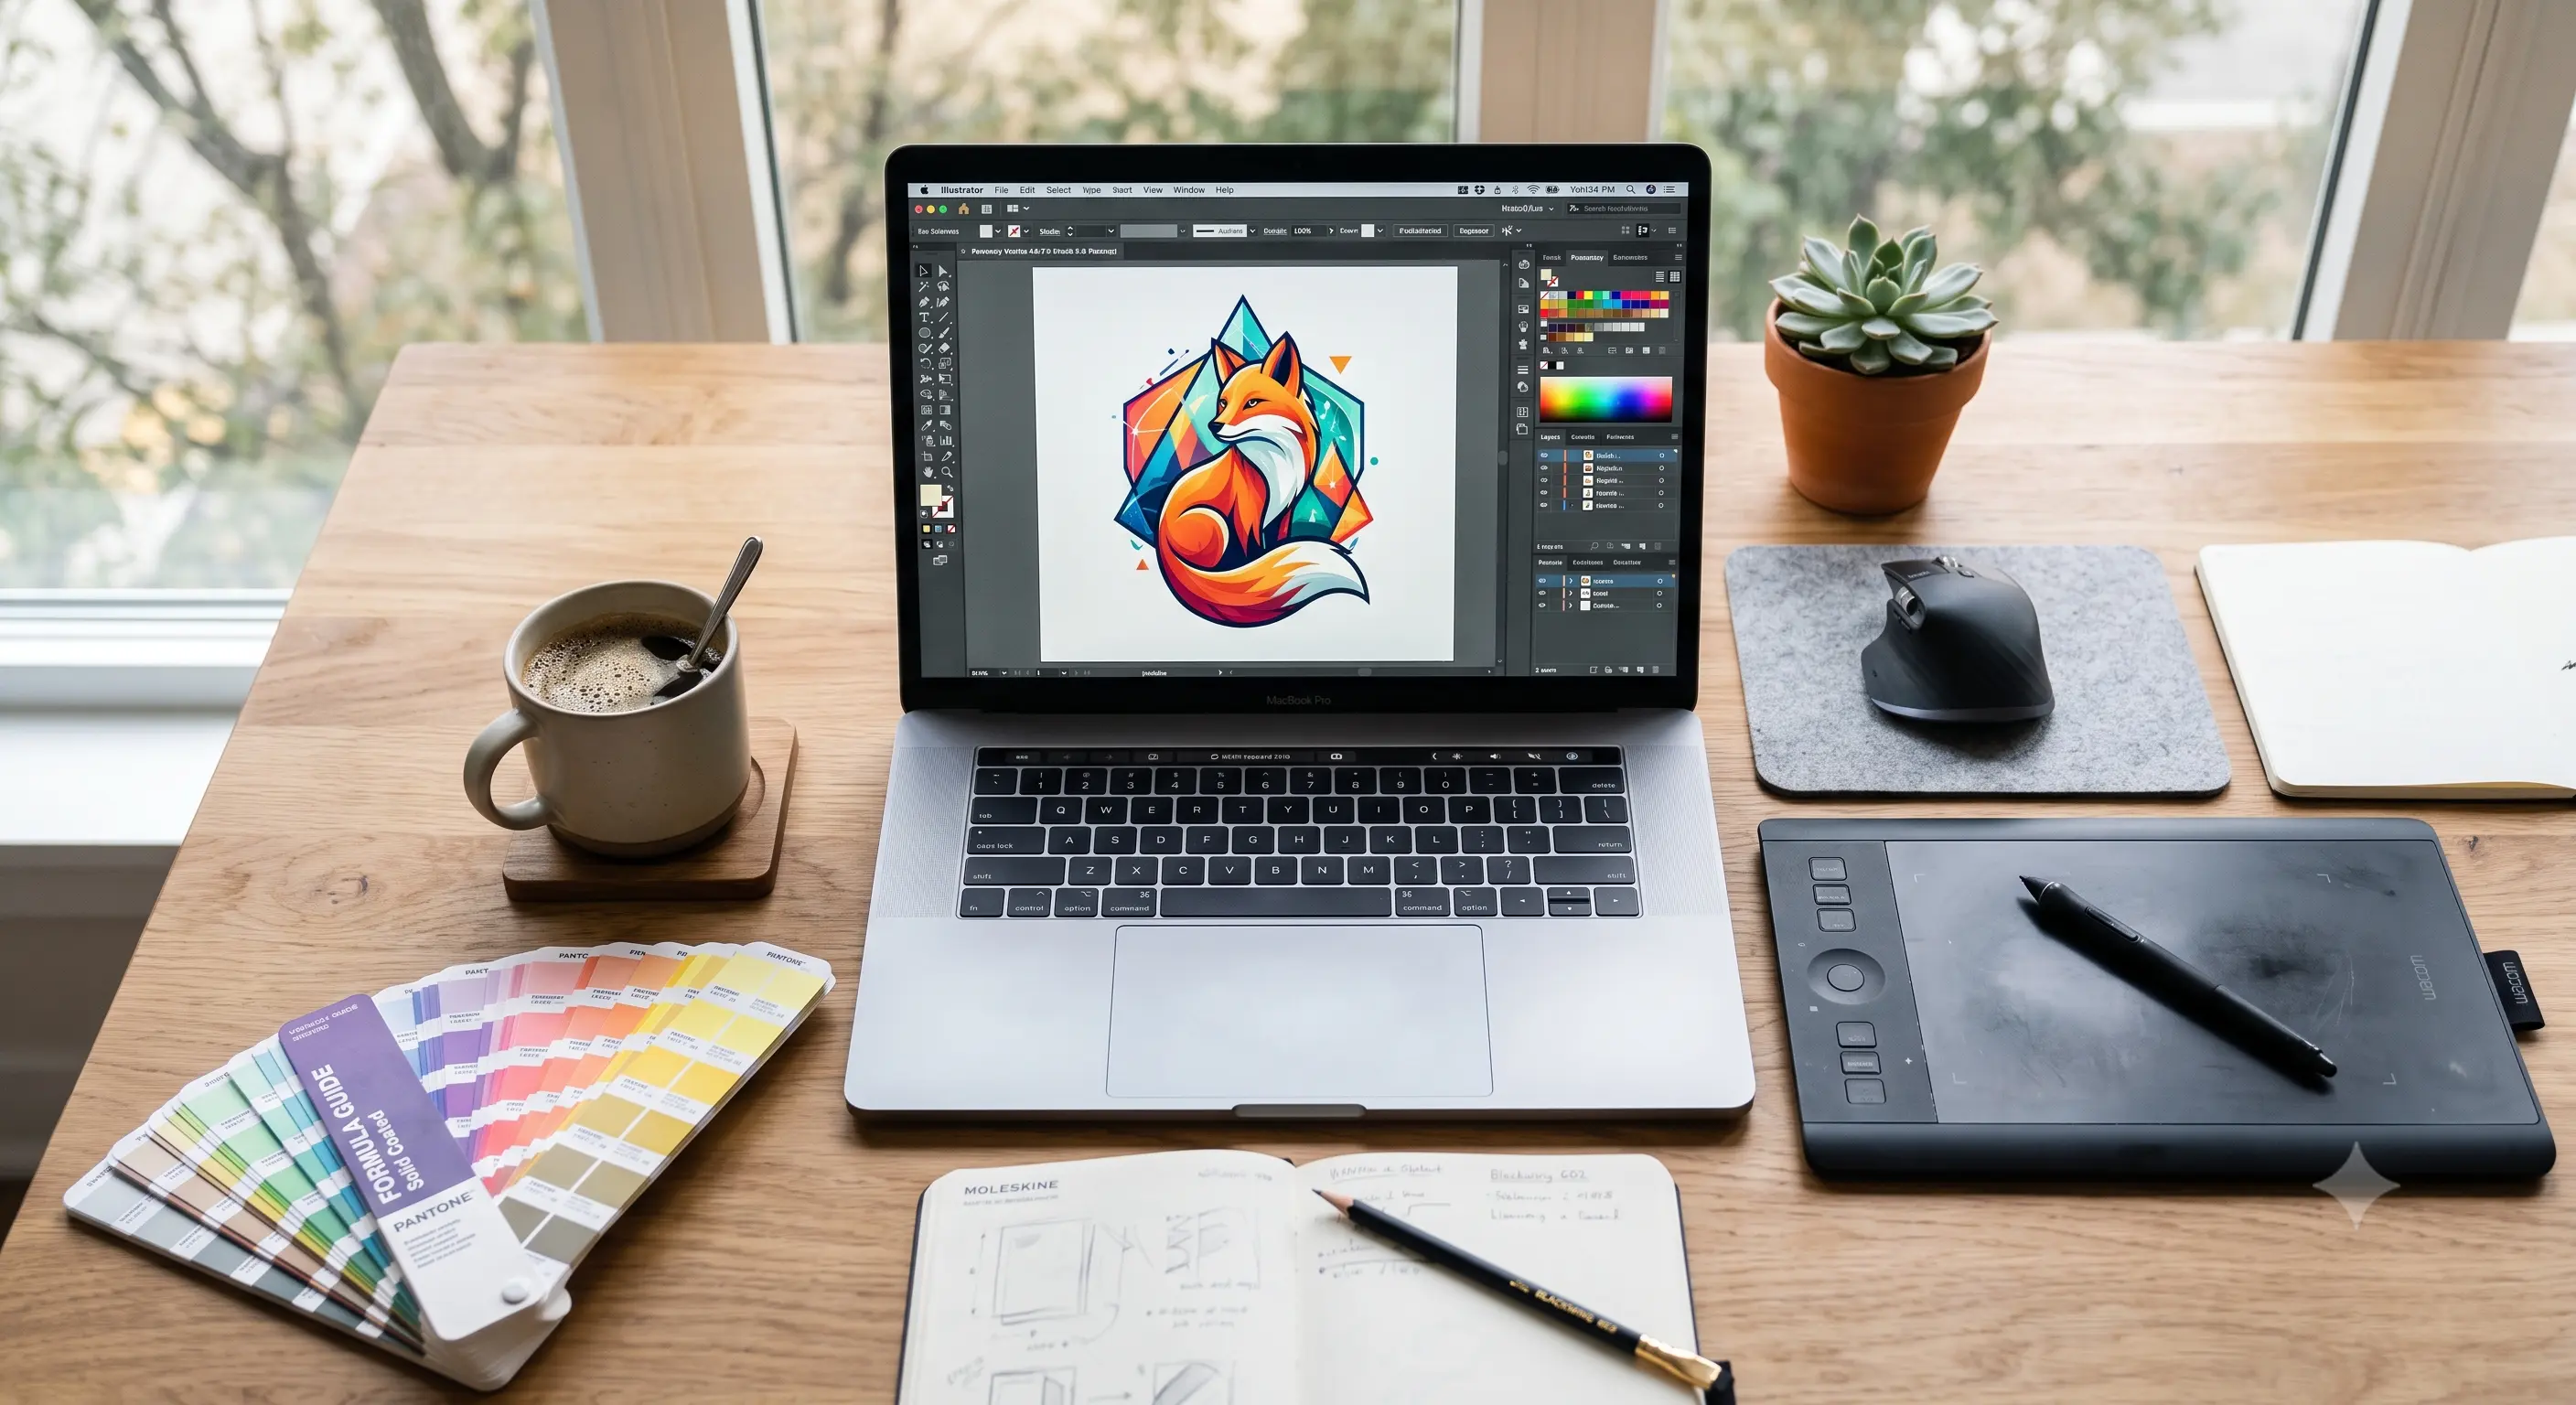
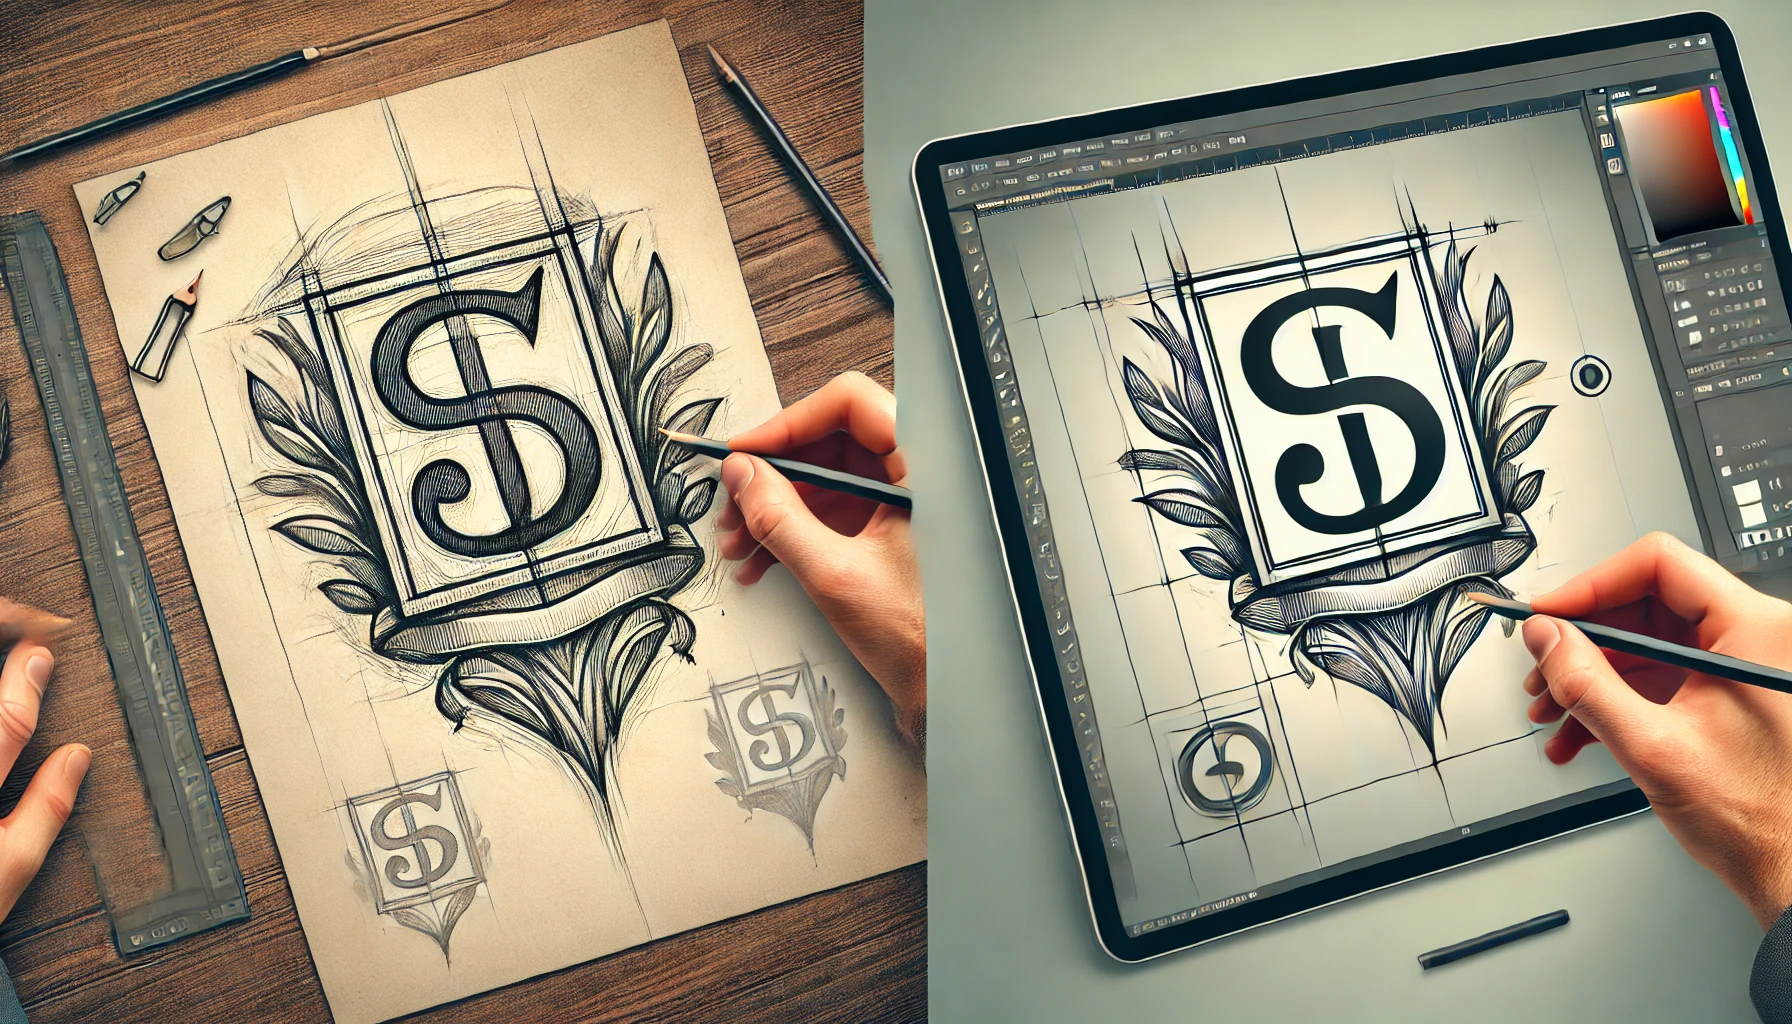
| AI, EPS, or SVG artwork | Providing shapes and outlines as a design reference. | Vector artwork still needs embroidery settings and a sewing sequence. |
| EMB | Keeping a Wilcom embroidery design for editing. | Retains design information; confirm software and version compatibility. |
| DST, PES, EXP, or JEF | Transferring stitch data to compatible embroidery equipment. | Choose the format for your particular machine, rather than assuming every machine accepts every format. |
Wilcom distinguishes design files from machine files. Its native EMB format can retain outlines, stitches, thread colors, and other design data. An editable source file is useful for future changes, but your machine still needs a compatible production format.
If your business also prints the same logo, keep the vector artwork as well. Our article on choosing vector design files for professional projects covers that side of artwork preparation.
A useful embroidery file balances appearance with practical production. It should preserve the recognizable parts of the artwork while allowing for the limits of thread, fabric, and size.
Stitch quality also depends on the production setup. Thread tension, needles, stabilization, and hooping can affect the result even when the file is prepared carefully. If you see looping or thread breaks, our guide to embroidery thread tension problems can help you investigate the machine setup alongside the design.
A clear brief reduces avoidable back-and-forth. Send these details with your artwork:
If the same logo is going on both polos and caps, mention both uses at the start. A change in size, fabric, or placement may require an adjusted version.
DigitizingMill provides embroidery digitizing for logos, caps, left-chest designs, jacket backs, and other placements. Send your artwork with the finished size, fabric, and required format so we can review the job and quote for the preparation it needs.
Request a quote for embroidery digitizing and tell us where your design will be stitched.
In most commercial embroidery conversations, they mean the same thing: preparing a design as stitch instructions. Punching is the older trade term. Confirm the deliverables rather than assuming the wording describes two separate services.
Yes. A digitizer can use the image as a reference to build an embroidery design. Renaming the extension does not create stitches, and an automatic conversion still needs review for the finished size and fabric.
Travel runs used only as hidden connections should be covered in the finished design. If a connecting line appears across an intended empty area, the route or connection method may need adjustment.
No. Jumps allow movement between separate areas. The relevant question is whether the connecting thread is handled appropriately and whether the movement is necessary for the design.
Some resizing is possible, particularly with an editable design file, but the result needs checking. Large changes can affect density, stitch lengths, and small details. Ask for the intended final size and test the revised file.
Usually, a digitizing service supplies digital files. Garments and physical stitching are separate unless the supplier explicitly includes them in the order.
You do not need to own the software used by the digitizer simply to run a compatible machine file. Editing an EMB design requires software that supports it; sewing the design requires the correct file for your embroidery machine.